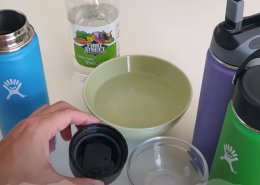
How To Clean Hydro Flask Lid Step By Step? Details Guide
We’re here to help with some cleaning tips about how to clean Hydro Flask lids that will eliminate the smell and make your Hydro Flask lid as good as new!
Last Updated on March 11, 2024 by Tina ShaoIf you’ve ever owned a Hydro Flask, you know how amazing it is. It keeps your drinks cold for 24 hours, keeps the sun out of your eyes, and comes with a lifetime warranty.
A few months ago, though, I realized that my Hydro Flask lid had a strange smell and mold was growing inside it! I was so upset, but then I learned that all Hydro Flasks are prone to this issue.
Don’t worry; we’re here to help you clean your Hydro Flask Lid step by step to eliminate the smell and make your Hydro Flask lid as good as new!
Step 1: Disassemble the Lid
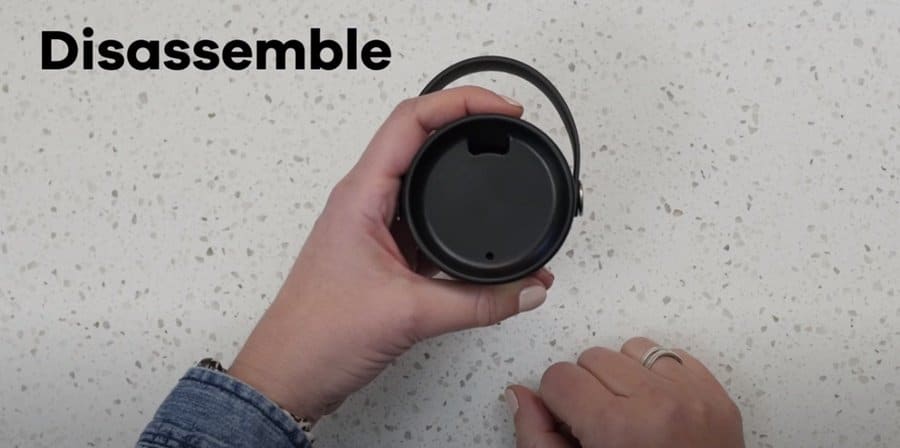
- Identify Removable Parts: Look at your Hydro Flask lid to identify which parts can be disassembled. Most lids have a rubber gasket or seal that can be removed. Some lids might have additional parts like straws, spouts, or air vents that can be removed.
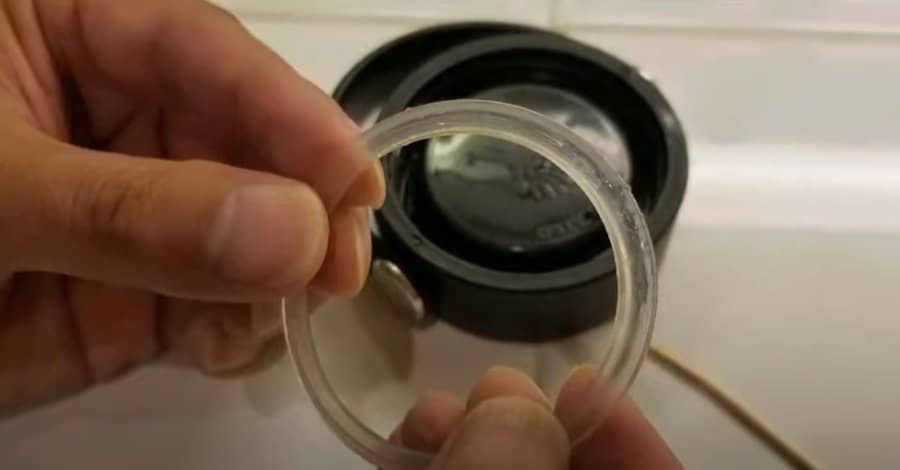
- Remove Gasket or Seal: Carefully remove the rubber gasket or seal. This is usually seated in a groove around the lid. Gently pry it out, being careful not to stretch or damage it. If it’s tight, you can use a small, flat tool like a butter knife to help lift it, but be gentle.
- Remove Additional Parts: Take these out if your lid has other removable components, like a straw or a spout. These parts often pull out, but check for locking mechanisms or clips.
- Keep Track of Parts: As you disassemble the lid, keep track of all the parts, especially small ones. It’s helpful to place them in a dish or on a clean cloth so they don’t get lost.
Step 2: Rinse with Warm Water
- Prepare Your Sink: Plug your sink and fill it with warm water, or use a large bowl. The water should be warm but not too hot to handle.
- Rinse the Lid: Hold the main part of the lid under the warm water. Turn it around to ensure all sides get rinsed. The goal is to remove any loose debris, dust, or residue on the lid.
- Rinse Removable Parts: One by one, rinse the removable parts like the gasket, straw, or spout under the warm water. Ensure the water flows through any holes or channels in these parts to flush out debris.
- Gentle Agitation: While rinsing, gently shake or tap the parts to help dislodge any particles. However, be gentle to avoid damaging any components.
- Initial Inspection: After rinsing, briefly inspect the parts. You might need to target these areas specifically during the following scrubbing step if you notice any stubborn residue or particles.
You’re setting the stage for a thorough and effective cleaning process by disassembling the lid and rinsing all parts with warm water. This ensures that every nook and cranny of the lid can be accessed and cleaned, maintaining the hygiene and functionality of your Hydro Flask.
Step 3: Prepare Cleaning Solution
- Choose Your Cleaning Agent: You have two primary options for your cleaning solution. For regular cleaning, mild dish soap is effective. White vinegar is a great choice for a deeper clean, especially if you’re dealing with odors or mildew.
- Mix with Warm Water:
- For Dish Soap: Fill a bowl or your sink with warm water. Add a few drops of mild dish soap. The water should be sudsy but not overly soapy.
- For Vinegar Solution: Mix equal parts of white vinegar and warm water in a bowl or sink. This solution is particularly good for disinfecting and removing any lingering smells.
- Stir the Solution: Use your hand or a utensil to stir the solution gently, ensuring that the soap or vinegar is well-distributed in the water.
Step 4: Scrub the Lid
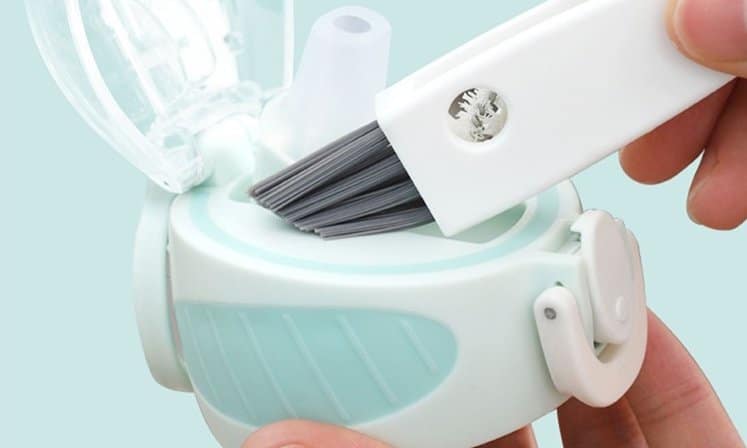
- Choose the Right Brush: A small brush is ideal for this task. A bottle brush can reach crevices, while an old toothbrush is great for detailed scrubbing. Make sure the brush is clean before using it.
- Dip and Scrub: Dip your brush into the cleaning solution. Start scrubbing the main part of the lid, paying attention to any grooves, threads, or areas where the lid makes contact with the bottle.
- Focus on Crevices: Mold and residue often accumulate in crevices and hard-to-reach areas. Use the brush to get into these spots, scrubbing gently but firmly to dislodge any buildup.
- Scrub Removable Parts: Take each removable part, such as the gasket or seal, and scrub it individually. If these parts have holes or channels, brush through them to remove any residue.
- Be Gentle with Seals: When scrubbing rubber gaskets or seals, be gentle to avoid causing any tears or damage. These parts are crucial for maintaining a good seal and preventing leaks.
- Rinse and Repeat if Necessary: After scrubbing, rinse the parts under running water to remove any soap or loosened debris. Repeat the scrubbing process if you notice any remaining residue or if there’s still an odor.
By preparing the right cleaning solution and thoroughly scrubbing the lid and its components, you ensure that your Hydro Flask lid is visually clean, hygienic, and free from any odors or harmful buildup.
Step 5: Soak if Necessary
- Assess the Condition: After the initial scrubbing, take a moment to assess the lid and its components. If you notice that the lid is still quite dirty, has stubborn residue, or has a lingering smell, it’s a good candidate for soaking.
- Prepare the Soaking Solution:
- If you haven’t already, prepare a cleaning solution in a bowl or sink. This can be warm water mixed with mild dish soap or a solution of equal parts warm water and white vinegar for a deeper clean.
- Ensure there’s enough solution to submerge the lid and its parts completely.
- Submerge the Lid and Parts: Place the lid and all its disassembled components into the cleaning solution. Ensure everything is fully submerged. If any parts float to the surface, you can use a clean object to weigh them down.
- Soaking Time: Let the lid and parts soak for 15-30 minutes. This time allows the solution to penetrate and loosen any remaining grime, residue, or odors.
- Check Progress: After the soaking period, look at the parts. If you notice a significant improvement, it’s time to move on to rinsing. You might consider extending the soaking time a bit longer if there’s still noticeable dirt or smell.
Step 6: Rinse Thoroughly
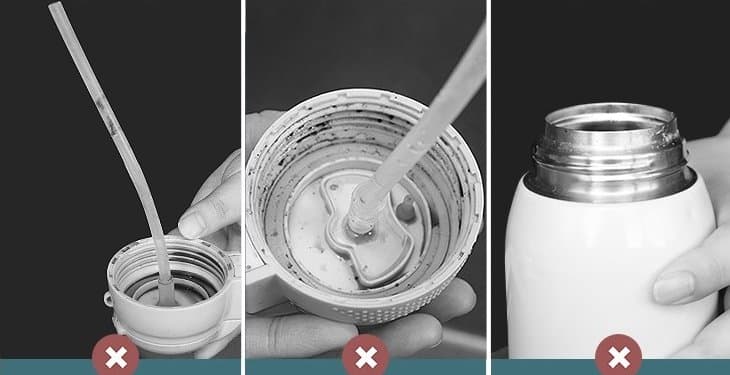
- Prepare for Rinsing: After soaking, it’s crucial to remove all traces of the cleaning solution. Prepare your sink or use a large bowl with clean running water.
- Rinse the Main Lid: Hold the main part of the lid under the running water. Turn it around to ensure all sides and crevices are rinsed. The goal is to remove all soap or vinegar solution.
- Rinse Removable Parts: Rinse each removable part under the running water. Ensure the water flows through any holes or channels to flush out any remaining cleaning solution.
- Check for Soap Residue: As you rinse, check for any soapy residue or smell of vinegar. If you detect any, continue rinsing until the water runs clear and there’s no more scent of the cleaning solution.
- Final Inspection: After thorough rinsing, give the lid and parts a final inspection. They should be free of any dirt, residue, and cleaning solution.
By soaking and then thoroughly rinsing the Hydro Flask lid and its components, you ensure a deep clean, especially for lids exposed to prolonged use or have developed stubborn residues or odors.
Step 7: Dry Completely
- Choose a Drying Area: Select a clean, dry area with good air circulation for drying the lid and its components. A dish rack or a clean towel on the countertop works well.
- Shake Off Excess Water: Gently shake each part to remove excess water. This helps speed up the drying process.
- Lay Out Parts for Drying: Place the main lid and all disassembled components separately on the drying rack or towel. Ensure they are not stacked or overlapping, as this can trap moisture.
- Air Dry: Allow the parts to air dry completely. Depending on the humidity and air circulation in your drying area, this might take several hours. Avoid the temptation to speed up the process with heat sources like a hairdryer, as this can damage some components.
- Check for Moisture: Before reassembling, ensure each part is completely dry. Pay special attention to crevices and any areas where water might be trapped.
Step 8: Reassemble the Lid
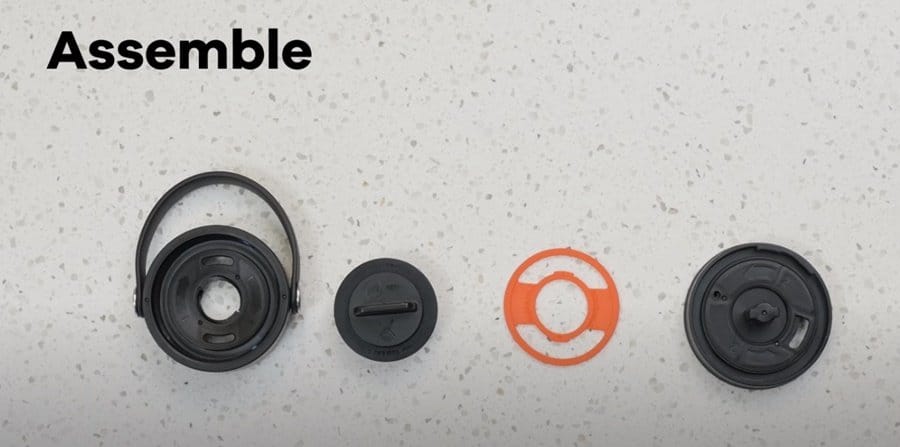
- Gather All Parts: Make sure you have all the lid parts you disassembled earlier.
- Please start with the Gasket or Seal: Carefully place the rubber gasket or seal back into its designated groove on the lid. Ensure it sits evenly and is not twisted or pinched, which can cause leaks.
- Reattach Additional Components: If your lid has other parts like straws, spouts, or air vents, reattach them now. Make sure they click into place or are securely fitted according to the design of your specific lid.
- Final Inspection: Once reassembled, give the lid a once-over to ensure everything is properly secured.
Step 9: Regular Maintenance
- Rinse After Use: Rinse the lid and components with warm water after each use. This helps remove any residue or liquid that could lead to odor or mold growth.
- Air Dry: Allow the lid to air dry completely after rinsing. Leave it disassembled while drying to ensure all parts dry thoroughly.
- Regular Deep Cleaning: Depending on how frequently you use your Hydro Flask, schedule regular deep cleanings (like the process described above) to maintain hygiene and functionality. This could be weekly, bi-weekly, or monthly.
- Inspect the lid regularly for any wear, damage, or mold. Pay special attention to the gasket or seal, which prevents leaks.
By thoroughly drying and correctly reassembling the lid and by maintaining regular cleaning and inspection routines, you ensure the longevity and optimal performance of your Hydro Flask. This enhances your user experience and ensures that your beverage container remains hygienic and safe to use.
What to avoid when cleaning the hydro flask lid?
- Avoid using abrasive cleaners. Abrasive cleaners can scratch the surface of your hydro flask, rendering it less effective at insulating your hot or cold liquids.
- Avoid harsh chemicals. The plastic used in hydro flasks is BPA-free and will not be damaged by these substances, but we recommend avoiding them to keep your hydro flask as clean as possible!
- Avoid the dishwasher. Your hydro flask is designed for hand washing only – the dishwasher will shorten the life of your hydro flask by causing wear on the lid’s bite valve system or making it difficult for you to put on a tight lid seal if you want to keep air out while drinking from your bottle.
- Avoid using bleach. Warning: The large concentration of bleaches could damage your Hydro Flask lid and cause it to break down faster than usual, so use it with care!
- Avoid using abrasive sponges or cloths and abrasive cleaners such as oven cleaners; these products can scratch the surface of your Hydro Flask, causing damage over time and making cleaning even harder in the future! Instead, try a soft cloth and mild soap to remove dirt from your Hydro Flask lid.
How often should I wash my Hydro Flask lid?
It is recommended that you wash your Hydro Flask lid once a week. This will keep it from smelling and prevent mold from growing inside your hydro flask. The lack of airflow in the cover can cause these things to happen over time.
If you don’t clean your hydro flask regularly, there may be some buildup between the lip and body of your water bottle that needs cleaning out before use (which is why we recommend cleaning it weekly).
Conclusion
If you follow these steps, your Hydro Flask lid will be clean and ready for use. It’s important to avoid using soap on the interior of your Hydro Flask as it may leave a residue behind. If something gets stuck inside, try boiling water or baking soda before scrubbing with soap again to remove any residue after cleaning with just water alone!


